Are you tired of your everyday hairstyle and looking to switch things up? Perhaps you’re attending a 1920s-themed party or simply want to channel your inner vintage fashionista. Look no further because finger waves hairstyles are here to add some old-school glamour and sophistication to your look. This iconic hairstyle has been around for decades, favored by Hollywood starlets like Marilyn Monroe, Josephine Baker, and Clara Bow.
With its smooth sculpted waves that hug the head, finger waves have stood the test of time as a classic and elegant style. In this blog post, we’ll take a deep dive into the world of finger wave hairstyles – from their history to how you can recreate them at home with modern techniques. So get ready to embrace your inner Gatsby as we show you how to achieve the perfect vintage look with finger waves.
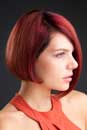
1. The Classic Wavy Bob
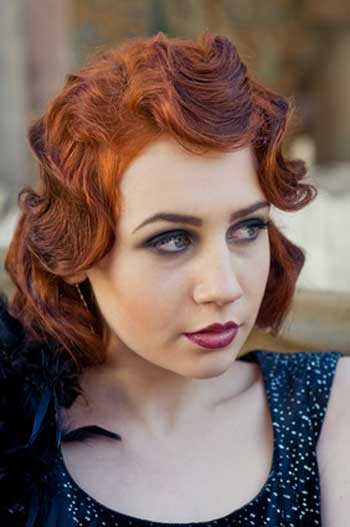
The classic finger waves hairstyles ideas are still a popular choice for many women. If you have straight hair, this is the best option to try out.
This style has been around for decades and it will continue to be fashionable no matter how much time goes by. You can either sport them with an updo or wear your hair down with side-swept bangs as well.
This cut gives off a fresh vibe that’s perfect for those who want something simple yet classy at the same time! The wavy bob cuts are one of my favorite looks from this year because it adds volume while making sure you don’t lose length on top which means there’ll always be enough room when styling your locks into trendy finger waves
2. Tousled Wavy Layers
This cut is a bit more complicated than the others, but it’s worth the effort. You’ll have to get your hair sliced into two halves before getting this type of style done, and most stylists will use an invisible part for both sections so that you can wear them in any direction without having to worry about which side should be in front or back! This asymmetric look gives off a messy vibe while still looking classy at the same time.
The best thing about these layers is how they blend so seamlessly thanks to their long lengths – do not try cutting them shorter if you want finger waves hairstyle ideas because then all of your hard work would go down the drain! Just as with other types of cuts
3. Loose Waves with Bangs
If you have short locks, this is the perfect way to make them look longer and more luxurious. Loose waves are truly a beauty that never goes out of style – it’s hard for me not to feel like I’m in the 40s when I see these types of hairstyles on girls with long hair! It gives off such an elegant vibe while still looking very versatile at the same time.
The best thing about loose finger waves is how they flow so effortlessly down your shoulders without being too tight or messy. The only downside? You’ll need really good tools if you want to get this type of cut because otherwise, all your hard work will be ruined by uneven layers and bad quality scissors! Just as with other cuts. (top wedding hairstyles)
4. Short and Textured Waves
If you’re looking for a new wave cut with more edge and texture, then short waves are the way to go. They are still versatile in that they can be styled differently on different days depending on your mood but there’s something about them that makes me feel like I’m probably going out or am at least very ready for an event! This is because of the volume created by these cuts which tend to make even just simple looks seem cool.
Another thing about this type of finger waves hairstyle is how it doesn’t take much upkeep – if anything, all you’ll have to do is lighten up on those touch-ups once in a while so as not to create too many split ends.”
5. Curly and Messy Waves
In this tutorial, you will learn how to do a curly and messy waves hairstyle design. To get the look, all you need is your hair in two sections (front section for curls and back section for straight). Curl just one side of your head with a curling iron or curl sponge while brushing out that natural wave on the other side.
You can also use bobby pins as needed if it’s an “unruly” type of day! The simple trick here is don’t focus too much on perfecting every single strand – tousle those loose locks slightly for some extra texture!
– Use a medium-sized curler brush from root to tip
– Make sure not to overdo it by using long strokes otherwise
Conclusion
Finger waves hairstyles are not just a thing of the past but can also be incorporated into our modern styles. From celebrity red carpet events to runway shows, we have seen how this vintage look has made a huge comeback and has become a trend-setting hairstyle for many women. It is a versatile hairstyle that can be worn for casual or formal occasions, making it a go-to option for any fashion-forward individual. With proper technique and product usage, anyone can achieve the perfect finger wave look and add a touch of elegance to their overall appearance.
Why not step out of your comfort zone and try out this classic hairstyle? It will not only elevate your style game but also give you a glimpse of the glamour and sophistication from the 1920s. Don’t forget to experiment with different variations such as asymmetric placement or adding in some accessories for an extra pop of flair. Whether you have short hair or long locks, there is a finger wave style that will suit your unique personality and make you stand out from the crowd. So go ahead and embrace the beauty of finger waves – after all, they say history repeats itself and this is one trend we hope never goes out of style!
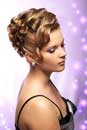
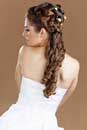
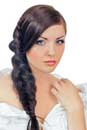
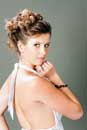
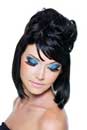
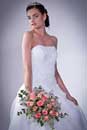
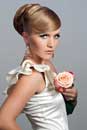
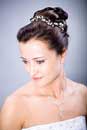
Gallery #1
 |  |  |
 |  |  |
 |  |  |
 |  |  |
——————–
Just added new photo
 |  |  |
|  |  |


